
Adding Custom Fields
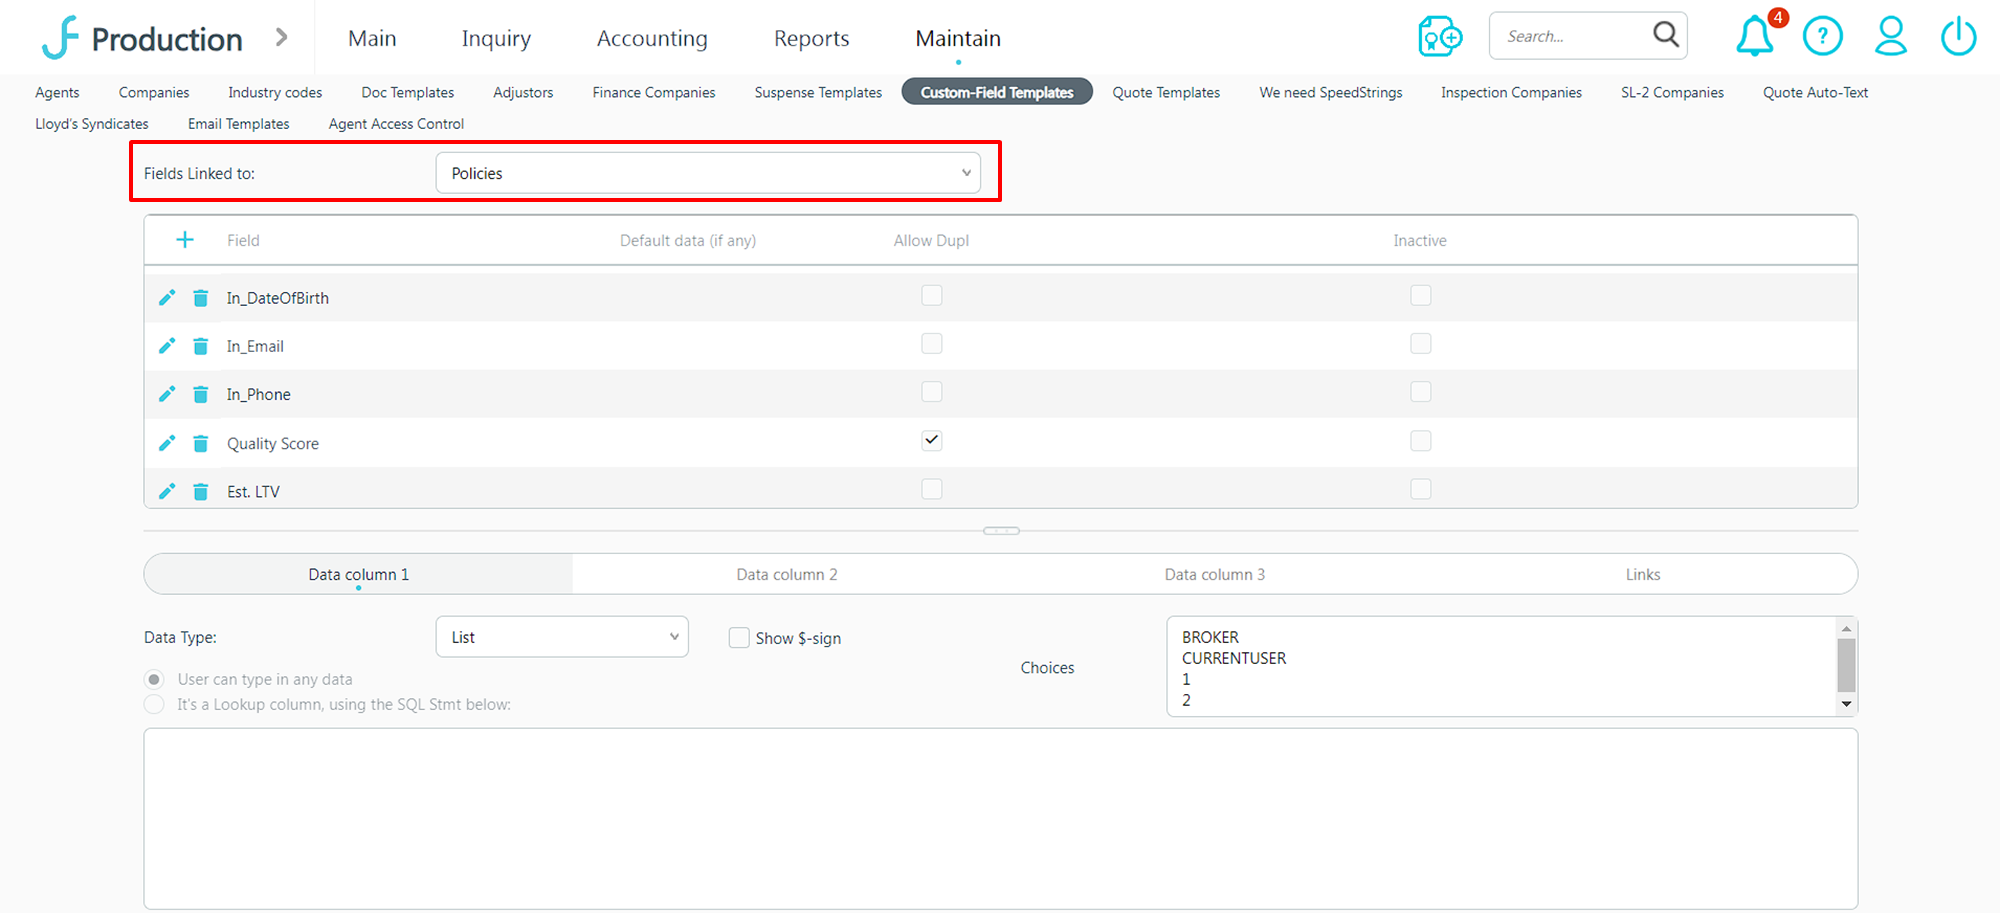
On the Production tab, select Maintain▶️Custom-Field Templates.
Ensure that in the Fields Linked to: drop-down window, the Policies option is selected.
⚠️ Please enter the field names exactly as listed. Any misspellings will cause errors.
To add new custom fields, select the ➕button on the top left of the table next to Field.
In the window that opens, create the following fields:
- Cancellation Risk: List ▶️Yes, No
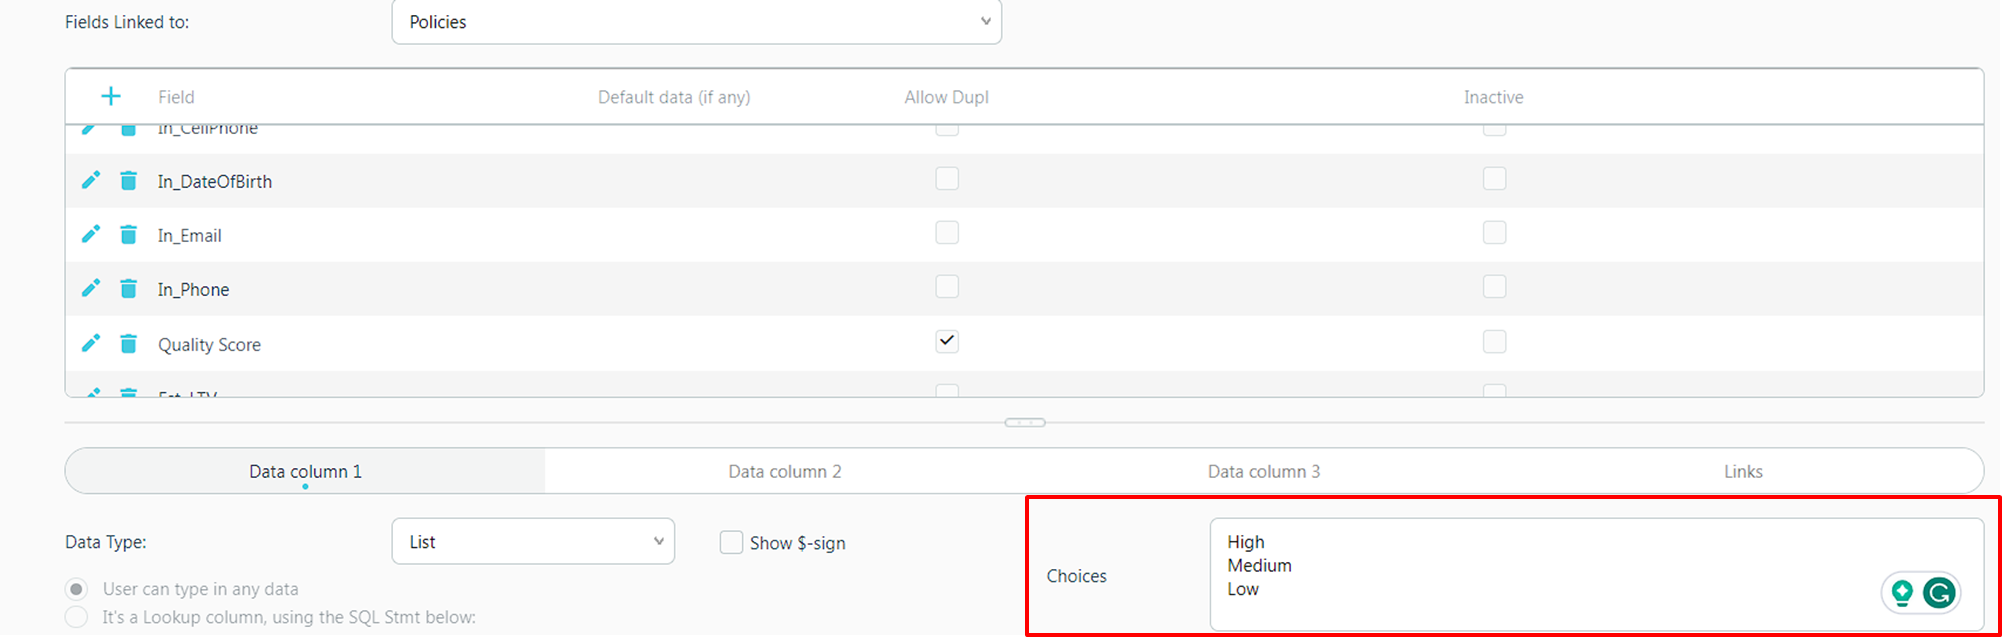
- Confidence_Quality: List▶️ Very High, High, Medium, Low
- Quality_Score: List▶️ Very High, High, Medium, Low
- Est_Value: Number (ensure to check the Show $-sign checkbox)
- Confidence_Quantity: Number
- Cancel_Reason: Text
- Pred_Date: Date
For each custom field, make sure to select the Allow Dupl checkbox and set the Data Type field accordingly.

For Data Types ▶️List, ensure to populate the Choices box accordingly. After entering a new List option, select Enter to move down to a new row. In order for the List to work correctly, there can only be one option per row.
After adding each custom field, select the Save 💾 icon next to the Field name for the option you just created.
💡Jetfile does not currently have the ability to version custom fields by year. ReFocus AI will track this for you, and this information is always accessible in your web portal.
Viewing Insights in Jetfile
Go to the Production tab.
From Production, select Main ➡️Marketing Query➡️Accounts. Scroll to the right to view Submission Insights.

Once your company has been onboarded, Submission Insights will begin to populate the fields.
💡You can further configure how the fields appear by applying automatic sorting, color schemes, and other useful visual differentiators to surface the best submissions.